TIKTOK SHOP U.S. · RETURN INSPECTION EVIDENCE
Photograph TikTok Shop Returns for the Decision You May Need to Defend
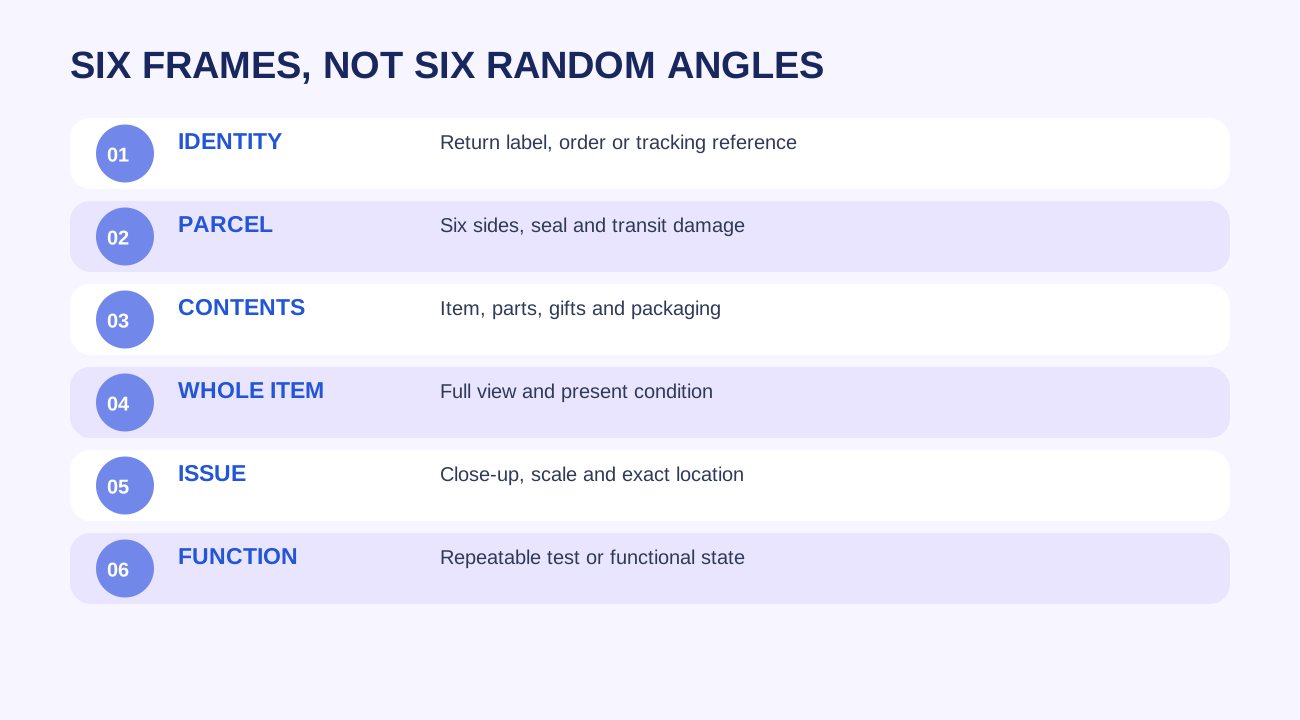
Direct answer: photograph every return as if the decision may later need to be defended. Establish parcel and order identity first, then preserve the exterior, complete contents, whole item, exact issue and any relevant functional result. The six-image limit is not an invitation to take six random angles. It is a compact evidence sequence that supports one reviewable condition grade.
Start with the decision, not the camera
A return inspection is not a warehouse photo task. It is a decision record. The inspector may approve a full refund, reject a request with supporting detail, or appeal a speedy refund. Under the current Returns Grading Framework, the condition choices are Original, Minor damage / Functional, Severe damage / Unsellable, and Buyer shipped the wrong item. The photographs must help another reviewer understand why the selected grade fits the item that actually came back.
Design the sequence around a future reader who was not present. That person needs identity, context, condition and consequence. A beautiful close-up without an order reference can be unusable. A label photo without the item can prove receipt but not condition. Six connected frames are stronger than six unrelated angles.
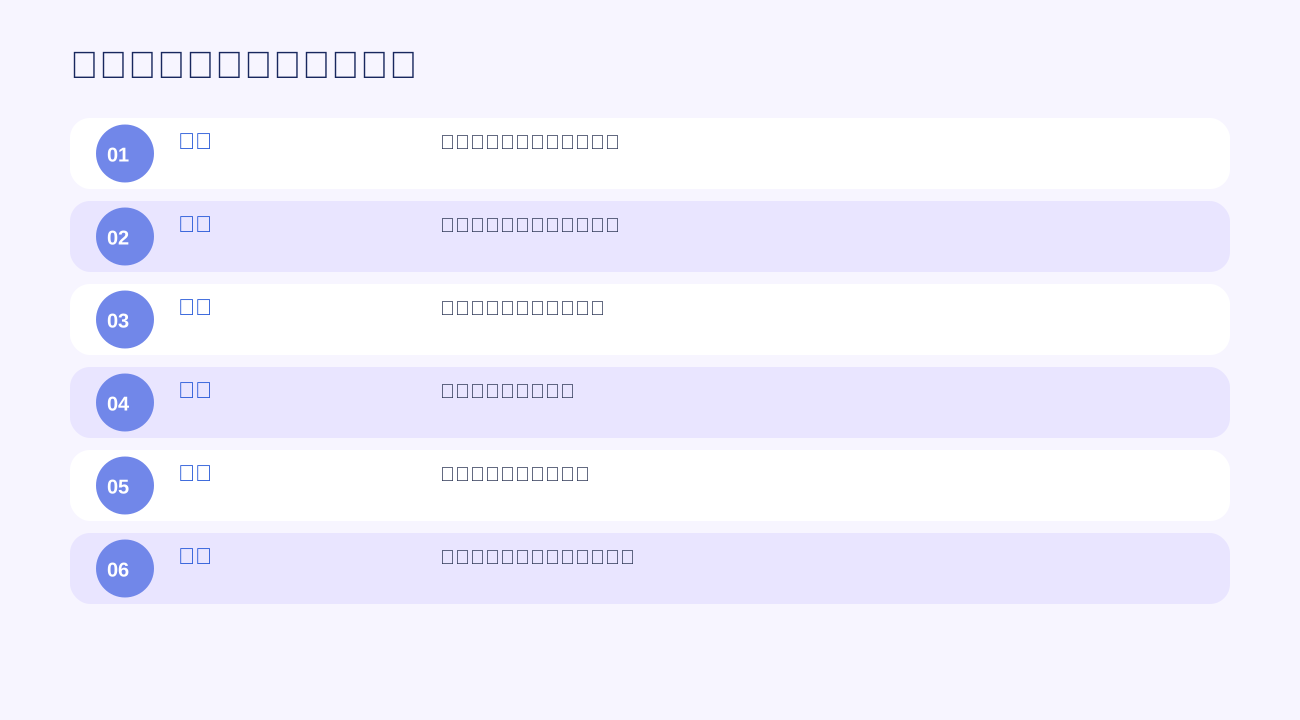
Frame 1: establish parcel and order identity
Photograph the return label or another approved order-linked identifier before opening or moving the contents. The order number, return tracking reference or QR code should be legible. Keep unrelated personal details out of the composition when they are not needed. This first frame is the bridge between the physical parcel and the Seller Center case.
Record who received the parcel, when it was received and where inspection occurred in the inspection log. The photo file itself should not be the only place where identity lives. If a label is torn or unreadable, record that condition and use the strongest available alternative link rather than guessing.
Frame 2: preserve the parcel exterior
Capture the parcel exterior before breaking the seal. The official after-sales evidence guide recommends showing all six sides of the returned package in a continuous unboxing record. For the six-image submission limit, create a clear exterior frame or contact view that shows the box, seal, dents, punctures, wet areas, retaping and other transit clues without hiding their location.
Do not crop so tightly that scale and orientation disappear. If damage appears on one corner, the reviewer should still be able to see which corner it is. This distinguishes an incoming parcel condition from damage introduced after intake.
Frame 3: show the complete returned contents
Place the item, accessories, components, gifts, manuals and original packaging in one organized frame. Compare the layout with the order contents list and, when relevant, the original dispatch evidence. Missing-item disputes require proof of what came back and what should have come back. A complete contents frame makes that comparison possible.
Do not add parts from another unit merely to demonstrate what a complete set looks like. If a reference set is needed, photograph it separately and label it clearly as reference, never as the returned contents.
Frame 4: show the whole item before the defect
Photograph the full item on a neutral surface with enough light to show color, shape, tags, seals and general condition. This is the context frame for every later close-up. It helps a reviewer determine whether the photographed defect belongs to the returned item and whether the condition is localized or widespread.
Use the same repeatable setup for similar SKUs. A fixed background, camera distance and orientation reduce accidental ambiguity. Do not apply filters, beauty correction or generative fill. Evidence should preserve the item, not improve its presentation.
Frame 5: document the exact issue with scale
Move close enough to show the claimed damage, contamination, wear, removed tag, missing seal, wrong model, serial mismatch or other condition. Include a neutral scale reference when size matters and a wider contextual edge when location matters. Focus, exposure and color must be accurate enough for another person to inspect the fact.
Describe only what the image proves. “A 22 mm tear at the left seam” is stronger than “customer destroyed the product.” The first statement is observable. The second attributes intent that the photograph cannot establish.
Frame 6: record function or comparison when relevant
For functional products, document the test state, connected accessories and result. A still image may show a display code, power state or measured output; when continuous video is permitted in another evidence workflow, preserve that separate record too. For a wrong-item return, use the sixth frame to compare model identifiers, serial information or defining attributes against the order record.
Never stage a result the team cannot reproduce. Keep the test method, tool and pass/fail definition in the inspection log. The reviewer should be able to understand what was tested and what was not.
Name files so the evidence can survive handoffs
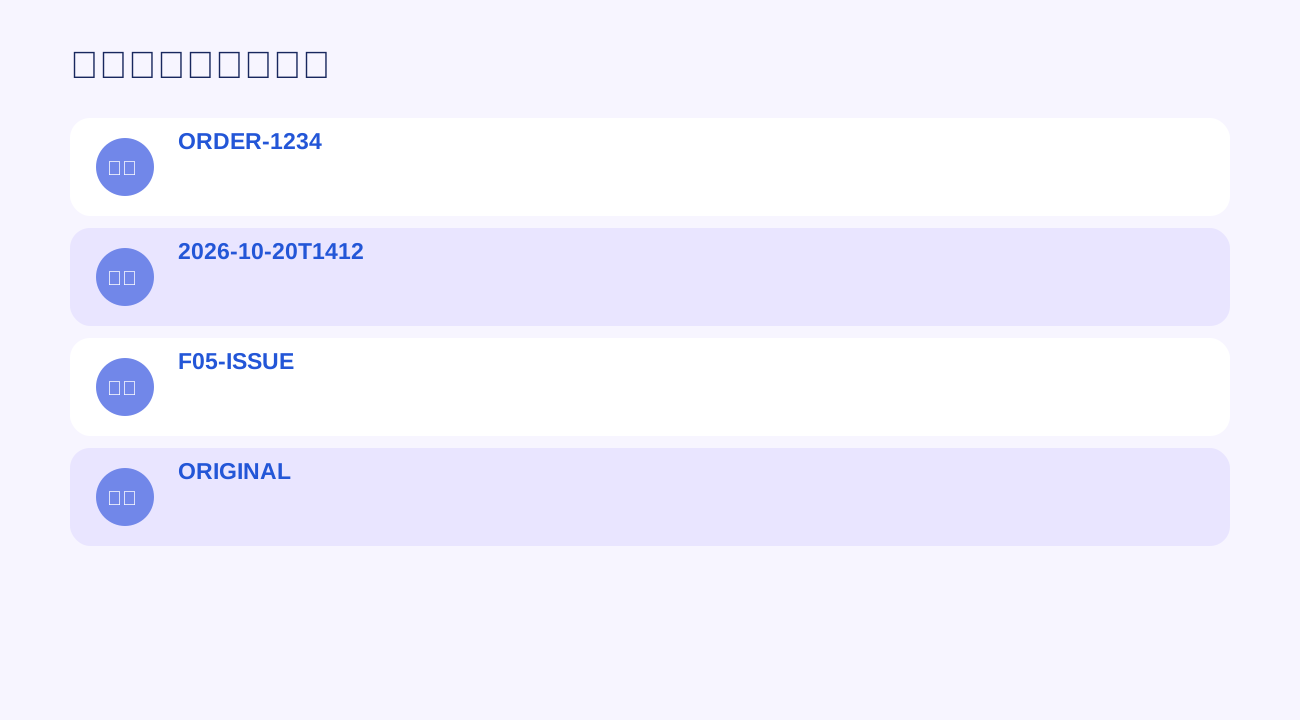
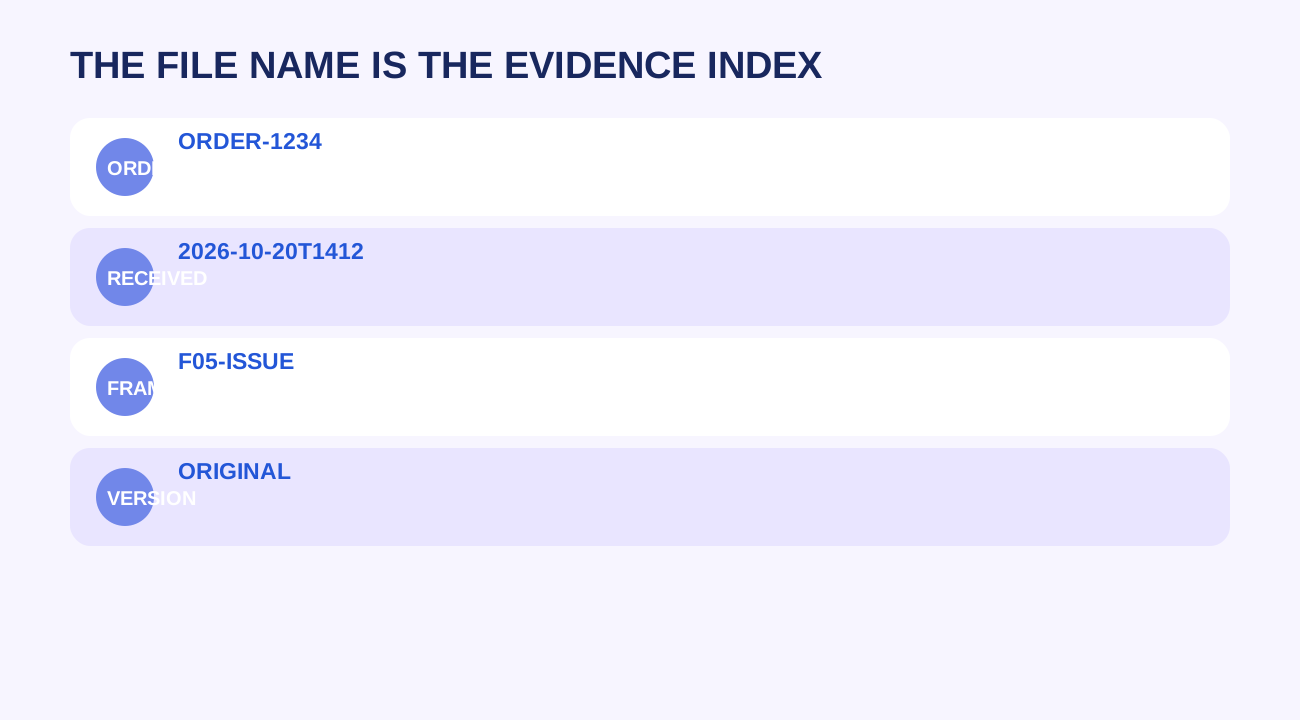
Use a deterministic pattern such as ORDER-1234_2026-10-20T1412_F05-ISSUE_ORIGINAL.jpg. Include an order-safe reference, capture time, frame number, purpose and version. Avoid customer names, vague names such as IMG-final2, or filenames that overwrite earlier evidence. Store the originals in a controlled order folder and generate separate derivatives only when required for file size or annotation.
Hashing, immutable storage or access logs can strengthen provenance where risk justifies them, but the basic discipline comes first: no silent replacement, no mixed orders, no unclear versions, and no evidence living only on one employee’s phone.
Connect the photo set to the selected grade
After capture, the inspector selects the condition grade and writes a short factual explanation that points to the relevant frames. Original should mean the returned condition supports that grade under the current interface. Minor damage / Functional should describe the damage while confirming function. Severe damage / Unsellable should identify the condition affecting resale. Buyer shipped the wrong item should connect the received item to the expected SKU and the mismatch.
The grade, comment and photos must tell one story. If they conflict, pause. A second reviewer should either agree, request a missing frame or change the grade before submission.
Submit within the actual deadline and preserve readback
The current requirements say sellers generally have four business days to review return and refund requests, while certain lower-value inspection decisions may require action within two business days. Seller Center controls the specific case. Record the displayed deadline, the selected action, the uploaded filenames, the additional comment and the confirmation after submission.
A folder of prepared images is not a submitted response. A clicked button is not a final outcome. Preserve the Seller Center readback and continue tracking any appeal, dispute or financial result until it reaches a terminal state.
Use the photo failures to repair operations
Review five cases weekly. Track missing identifiers, unreadable labels, absent accessories, inconsistent lighting, unsupported grades, late inspection and files that cannot be tied to a case. Then repair the first repeated failure in receiving, warehouse layout, training or data capture. The goal is not to create more photos. It is to make the next decision faster, more consistent and easier to defend.
The smallest useful action today is to run the six-frame protocol on five recent returns and ask a second reviewer to grade them independently. Any disagreement identifies the next operational repair.
Source notes
This original WEM operating framework draws on complete current TikTok Shop U.S. material read and revalidated October 20, 2026: Requirements for Managing Returns, Refunds, and Replacements and the After-Sales Evidence Guide for Appeals and Disputes. The six-frame protocol, file naming, second review and weekly failure review are WEM operating design, not a platform guarantee or legal advice. Rules, values, deadlines, eligibility and interface paths can change; verify the live Seller Center case and official pages before acting.
Related WEM guides
Frequently asked questions
How many return inspection photos can sellers submit?
The current Returns Grading Framework allows up to six JPG or PNG images, each no larger than 5 MB. Video is not accepted in that photo field.
Should the team photograph every return?
Use a consistent intake protocol for every return, then retain the most decision-relevant frames according to policy, category risk and your controlled retention rules.
What should the first photo show?
Start with identity: the return label, order reference or tracking reference, captured so the remaining images can be tied to the correct parcel.
Can a close-up prove an item is unsellable?
Not by itself. Pair the close-up with a full-item view, parcel and contents context, scale, and a factual description of how the condition affects resale or function.
Should inspectors edit or annotate the original photos?
Preserve originals unchanged. If an annotated copy helps a reviewer, create it as a separate derivative and retain the original file and capture metadata.
What is the smallest useful next action?
Test the six-frame protocol on five recent returns and check whether another reviewer can reach the same grade without asking the original inspector.